Print your friends' listening history in real-time
Do you happen to have a spare thermal printer? Turn it into a live feed of your friends’ listening history.
Introduction
I’ve been inspired by a visit in the Deutsches Technikmuseum. Two exhibits piqued my interest:
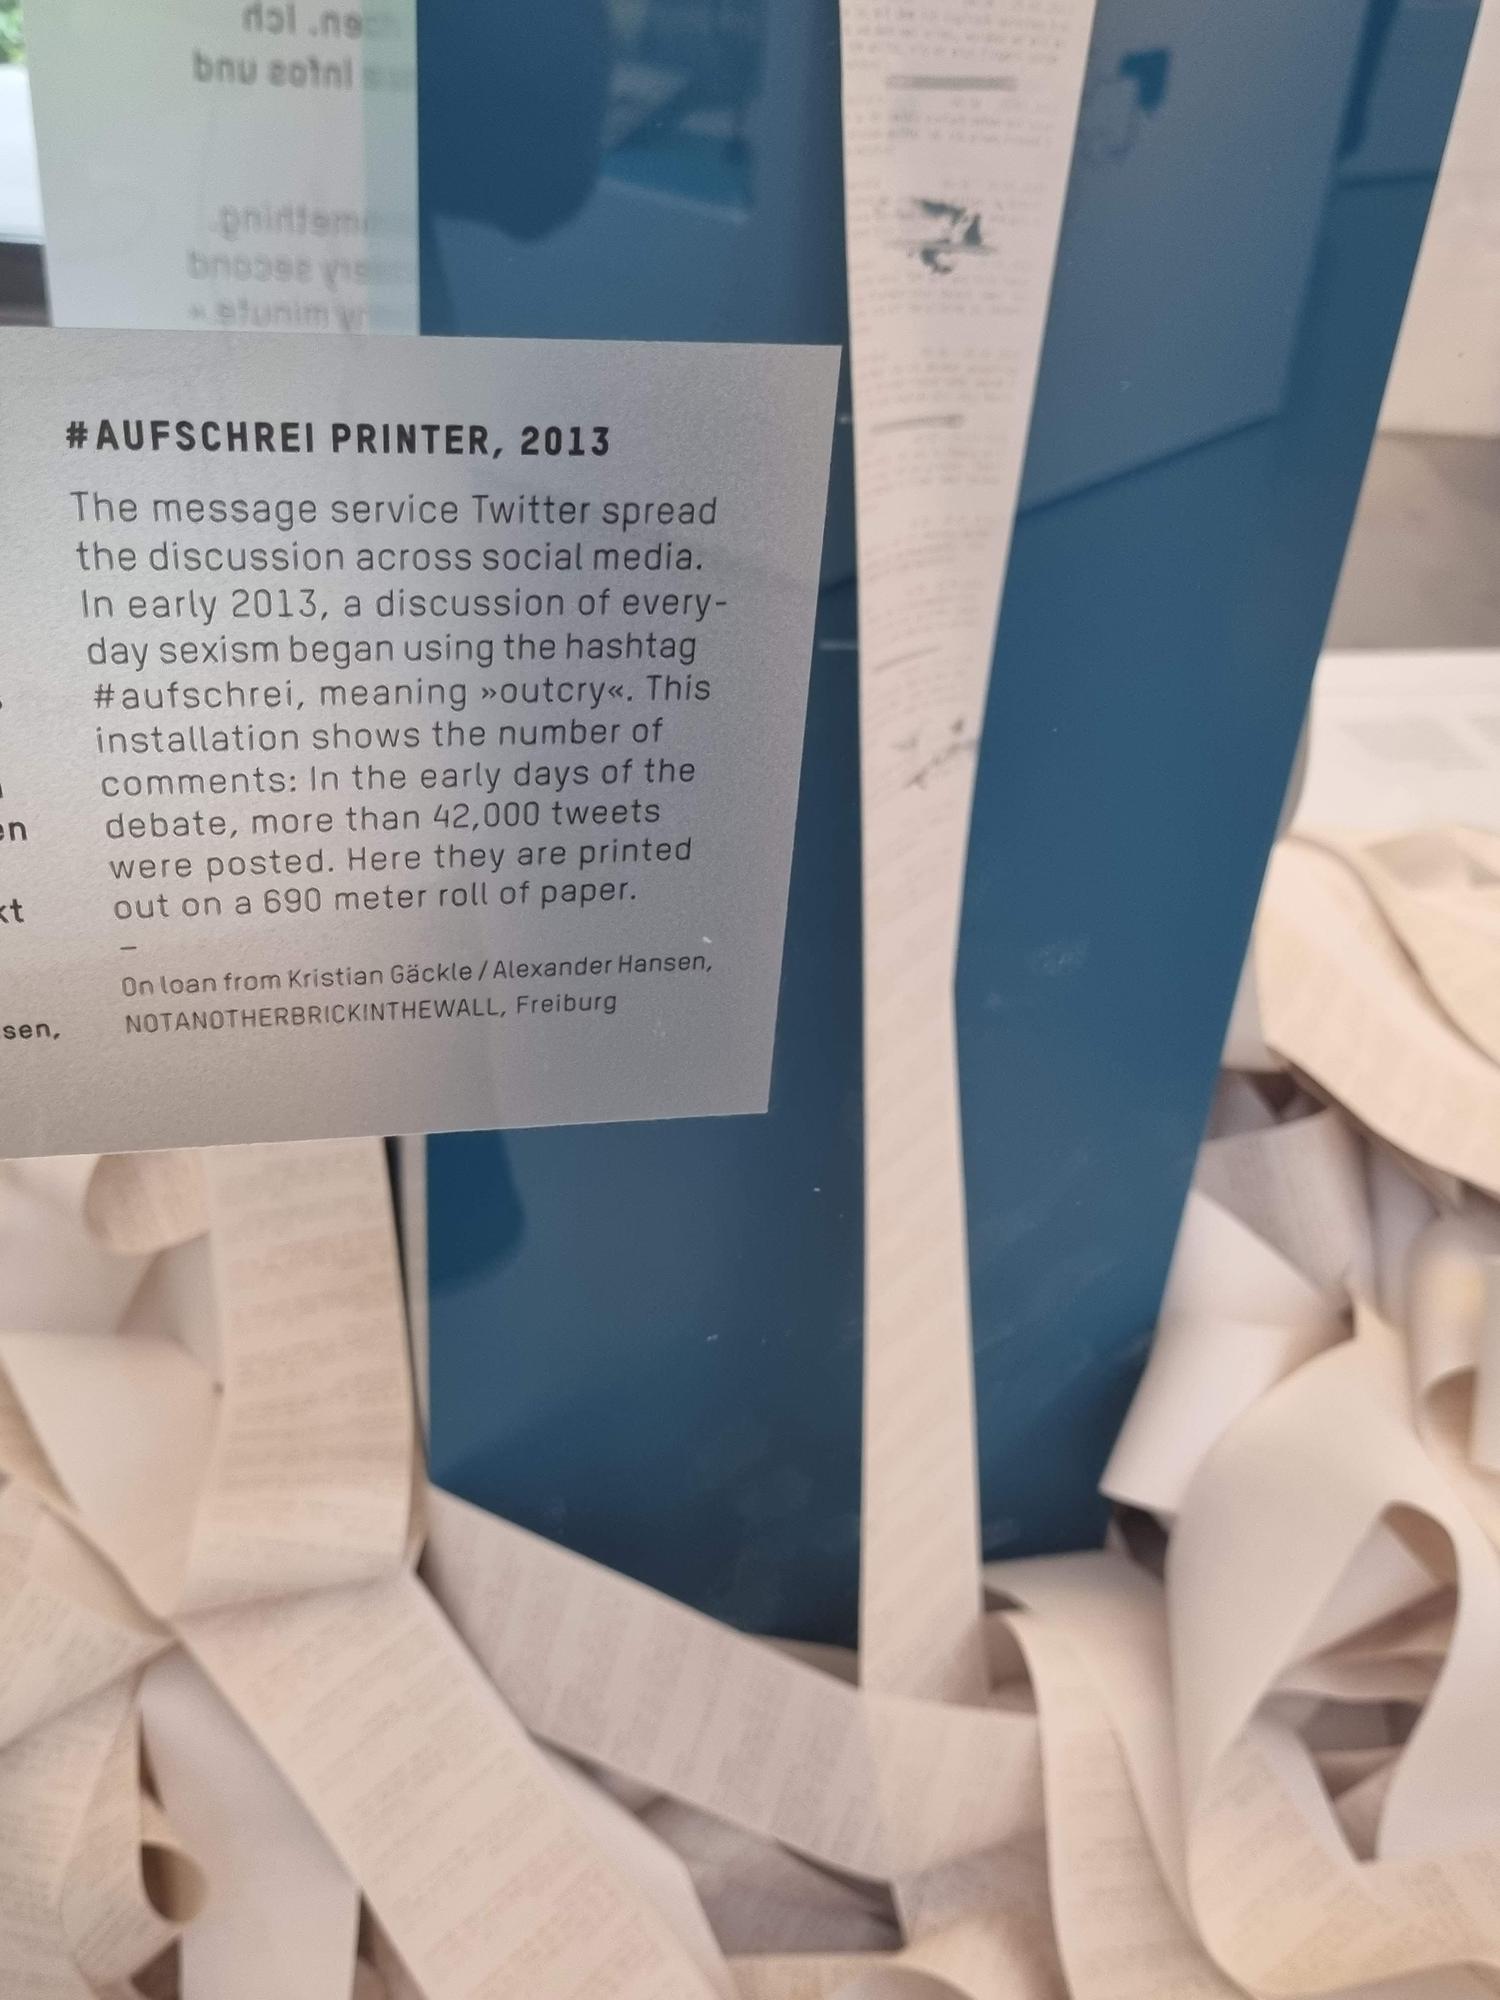
- An #aufschrei (#outcry) piece from 2013 creatively used a thermal printer to showcase the sheer volume of tweets posted about the subject.
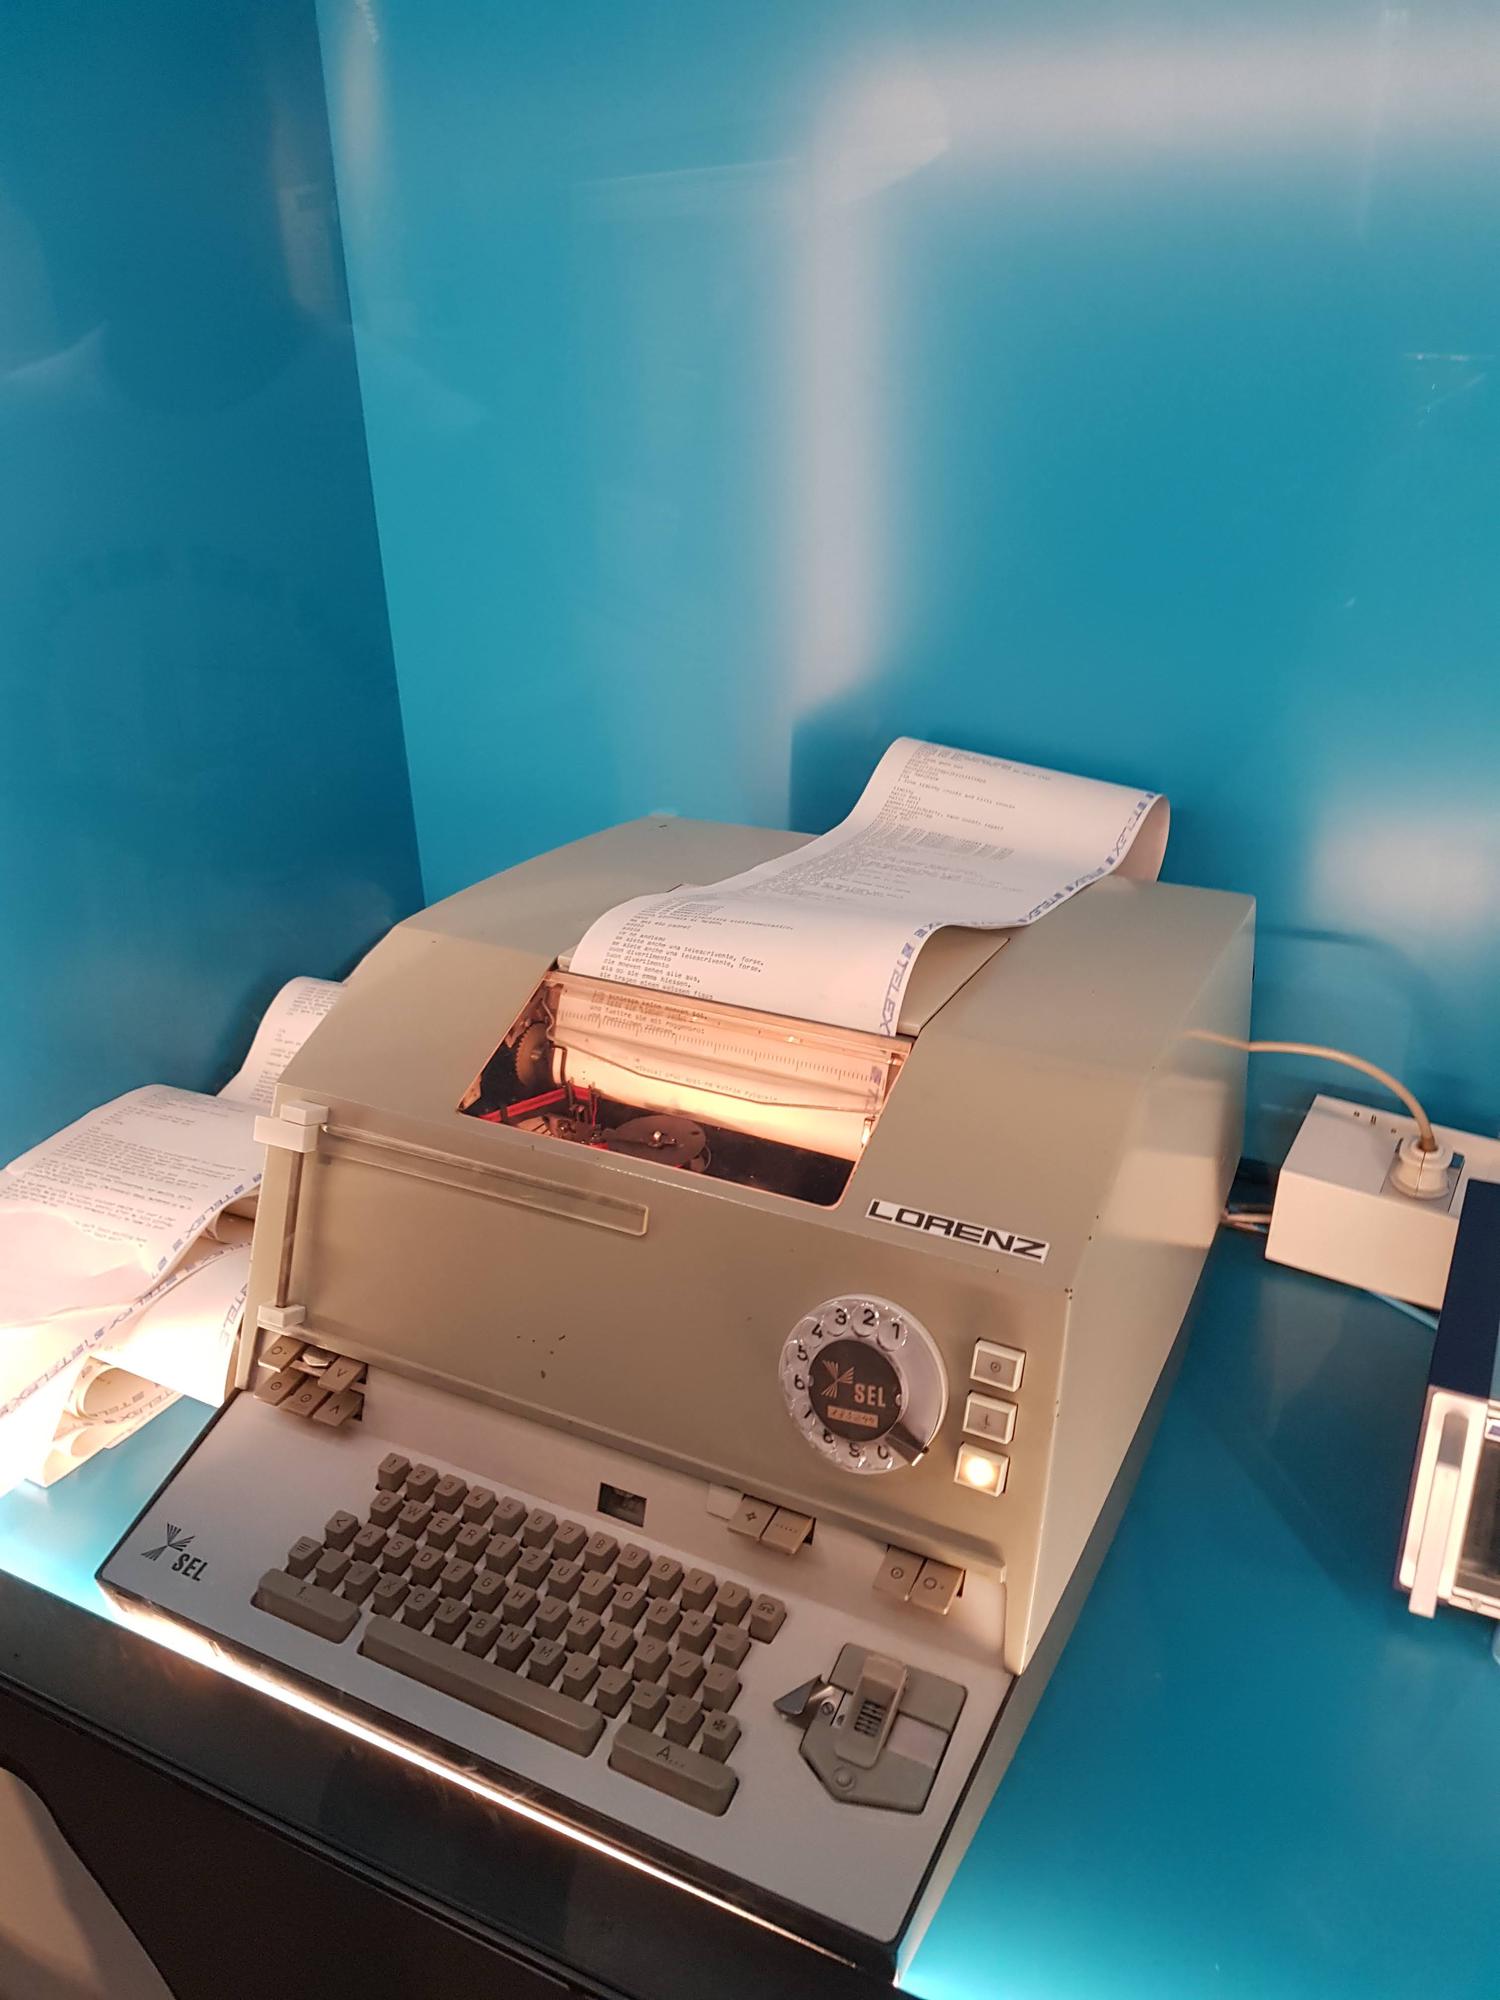
- A Lorenz teleprinter hooked up to a website allowed anyone to print a message on a paper feed.
It made me wonder: how much does a thermal printer cost? Apparently, not much. I’ve went ahead and bought a Bon Star TSP 700II printer for just under 150 PLN ($30). Printing scrobbles was one of my ideas and it was the fastest to implement, so I decided to have some fun with it.
But why?
Good question.
Configuring the printer
First of all, I’ve had to buy some thermal paper. The TSP700 II supports rolls wide up to 80mm, so I went with the biggest size available.
The drivers are called “StarPRNT Intelligence” and are available on the manufacturer’s website. Upon connecting the printer to the PC via an USB A-B cable I was able to begin the configuration process.
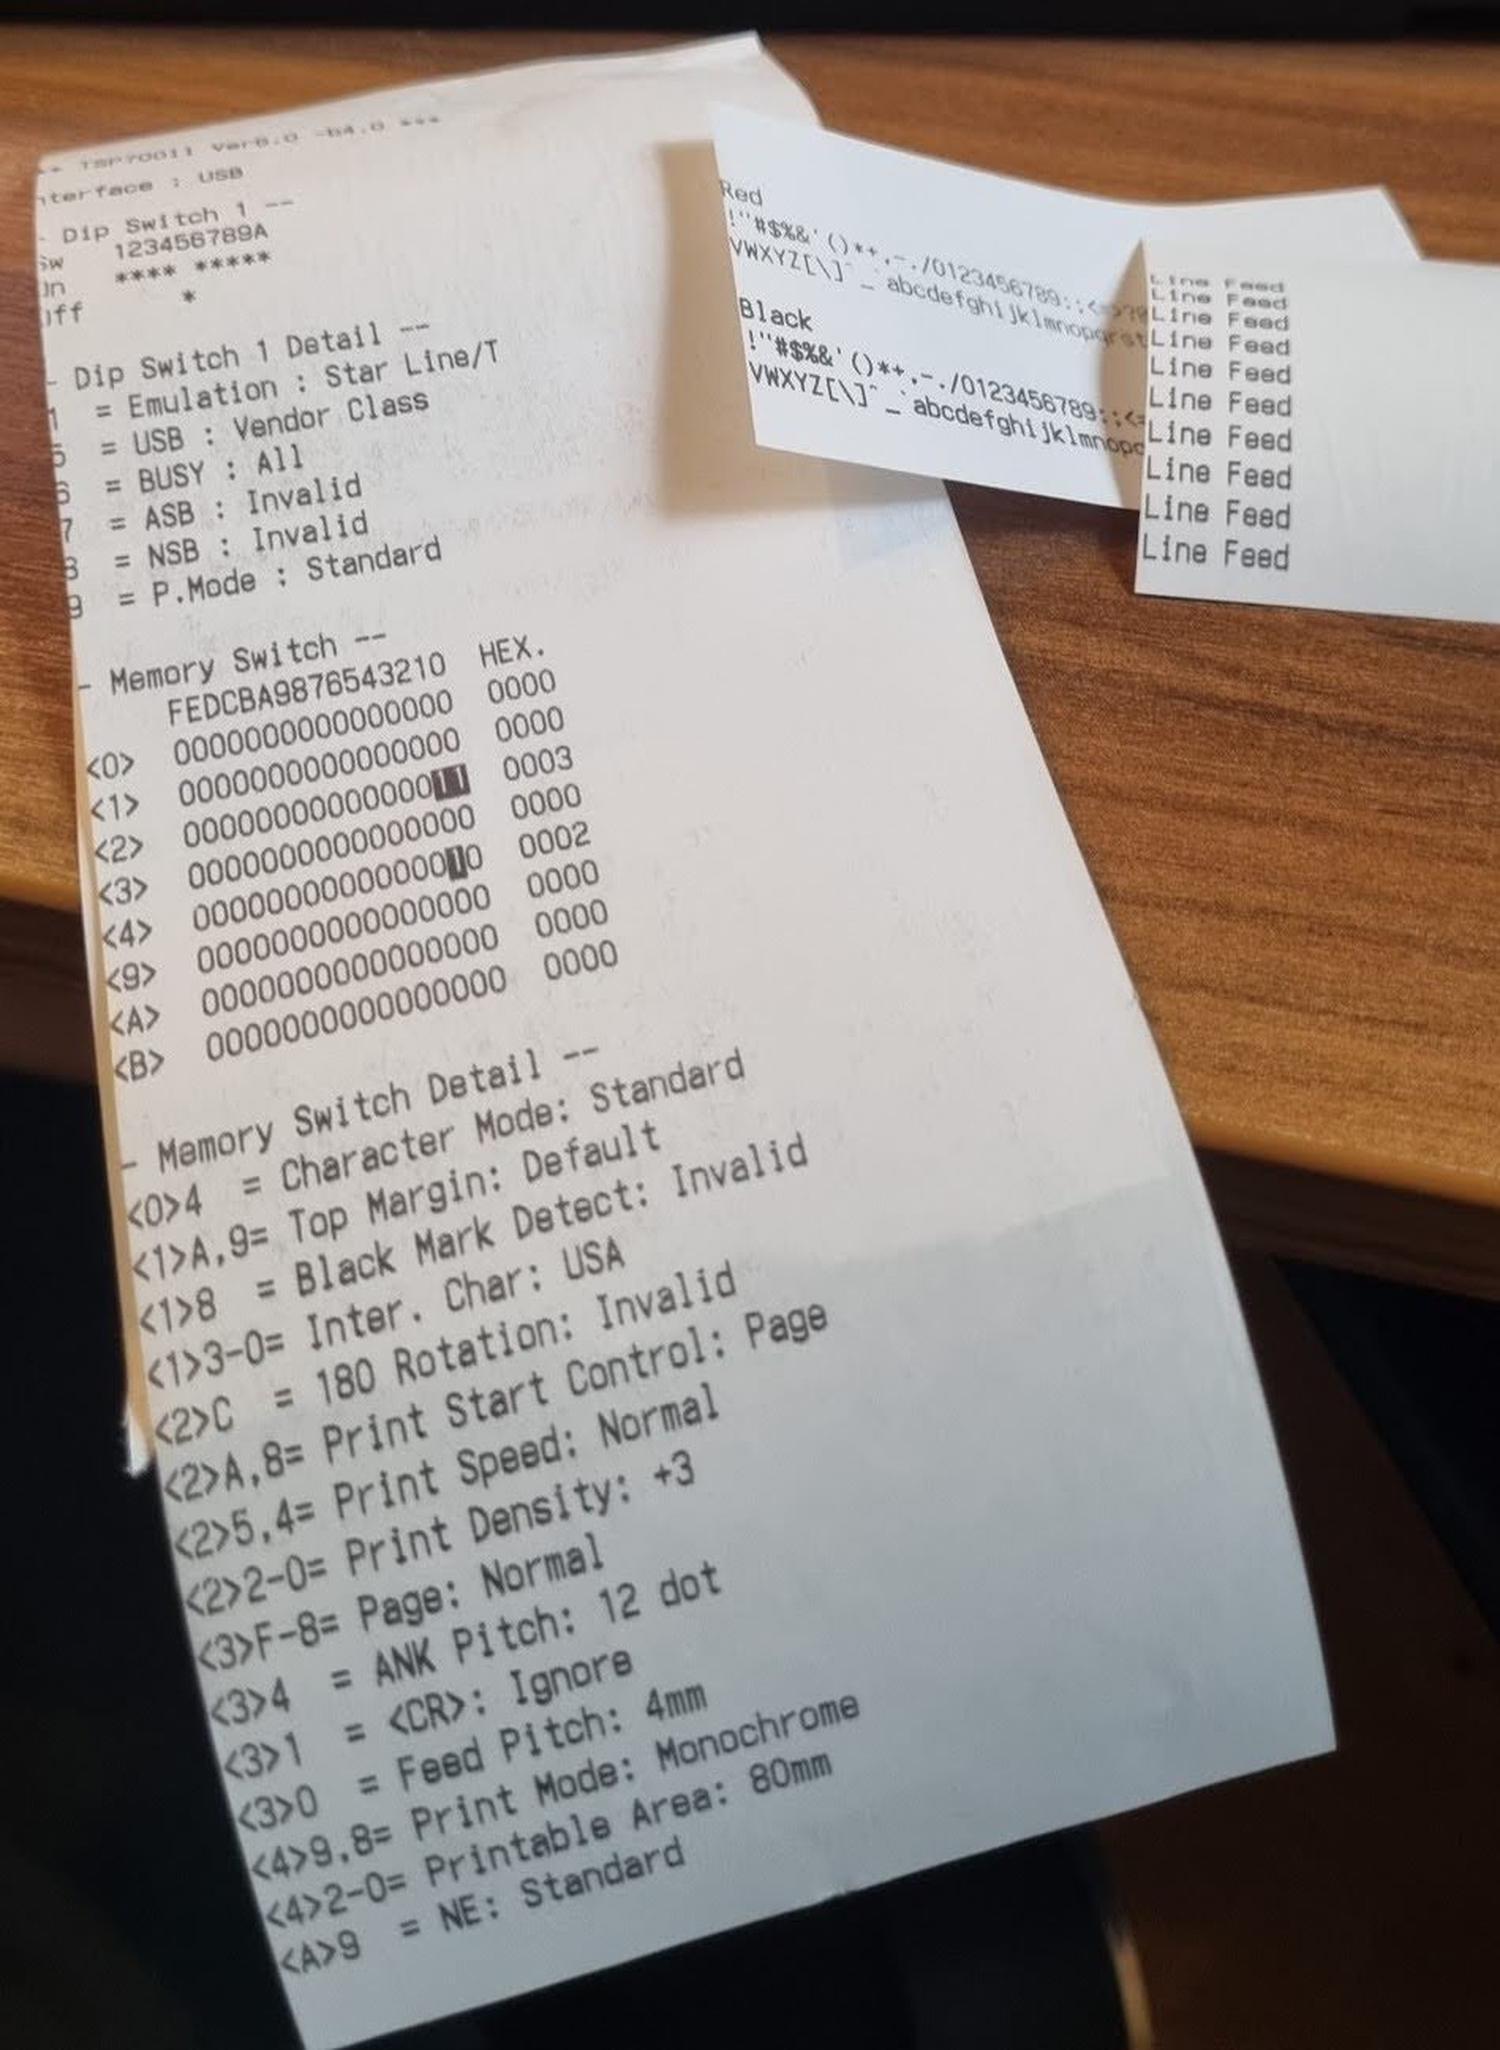
The first step was to determine the current emulation mode. I’ve done some prior research and knew that I wanted to use ESC/POS due to existing libraries. A quick Google search showed that I need to run a self-test. I’ve turned off the printer, held the FEED button and turned it back on. The emulation mode was set to StarLine.
Changing the emulation mode required toggling a few hardware switches. As written on the Starmicronics website, I’ve unplugged the printer, removed the printer cover and switched the DISPW 1-1 position to OFF. Another self-test confirmed that the emulation mode is now ESC/POS.
With the emulation mode set, I could now use the manufacturer software to play with the printer. Printing text, QR codes, and images worked well. However, it turned out that the TSP700 II printer doesn’t support Polish characters and UTF-8 in general. Oh well, that is only a minor setback.
Installing Python libraries
I’ve decided to use Python 3 to quickly get the project working. I went with the most popular library, python-escpos.
At first I wanted to create the project under WSL2. That’s a big no, as it doesn’t support pass-through access to USB devices. Apparently a recent update made it possible on Windows 11, however I’m using Windows 10.
Installing python-escpos wasn’t enough. In order to fix the NoBackendError: “No backend available”, you have to install Libusb and copy its DLLs into suitable paths. I’ve followed this guide found under a Github issue.
In order to call the printer via code, I had to determine the connection type. I accidentally went down the wrong route and tried to connect the printer as an USB one, instead of as a serial one. Nonetheless I’ll describe the necessary steps.
Connecting to an USB ESC/POS printer
In order to connect an USB printer, you have to determine the Vendor ID and the Product ID. Under Linux that’s done simply with the ’libusb’ command. Under Windows you have to launch Powershell. I’ve used the following command:
Get-PnpDevice -PresentOnly | Where-Object { $_.InstanceId -match '^USB' } | Format-List
A snippet from the output:
HardwareID                  : {USB\VID_0519&PID_0002&REV_0400, USB\VID_0519&PID_0002}
Manufacturer                : Star Micronics
PNPClass                    : Ports
Present                     : True
Service                     : SMJUSB
PSComputerName              :
Class                       : Ports
FriendlyName                : SMJ USB Device (COM5)
The vendor ID and the product ID are respectively written after VID_ and PID_ prefixes. Another option would be to use the Python shell with previously installed libusb:
import usb.core
import usb.util
list(usb.core.find(find_all=True))[0]
# <DEVICE ID 0519:0002 on Bus 000 Address 001>
list(usb.core.find(find_all=True))[0].idVendor
# 1305
list(usb.core.find(find_all=True))[0].idProduct
# 2
The Python “idVendor” and Powershell “V_ID” values match - the former is integer and the latter is hexadecimal. They should be enough to connect to the printer. Let’s try it.
from escpos.printer import Usb
p = Usb(1305, 2)
I was met with an another error. As it turns out, the library doesn’t fully support Windows. There are two options available to fix the NotImplementedError: detach_kernel_driver and both of them involve modifying the library code. The proper way would be to create a forked version of the package.
The brutal way would be to modify the package code found under the site_packages directory. I like it. First, find the source code location by calling
import escpos
escpos.__file__
# 'O:\\Users\\Maciej\\AppData\\Local\\Programs\\Python\\Python37-32\\lib\\site-packages\\escpos\\__init__.py'
Comment out the following snippet in the printer.py code:
try:
	check_driver = self.device.is_kernel_driver_active(0)
except NotImplementedError:
	pass

if check_driver is None or check_driver:
	try:
		self.device.detach_kernel_driver(0)
	except NotImplementedError:
		pass
	except usb.core.USBError as e:
		if check_driver is not None:
			print("Could not detatch kernel driver: {0}".format(str(e)))
Now everything should work. Make sure that your printer doesn’t actually use a serial connection. I’ve encountered some nondeterministic exceptions, took a step back, and switched the connection mode.
Connecting to a serial printer
Connection to a serial printer is easier. From the previous Powershell command output we can spot that my printer is connected to ‘COM5’.
from escpos.printer import Serial
p = Serial('COM5')
# Serial printer enabled
p.text('test')
p.cut()
It works! The full printer API is described in the library docs. We can now proceed to call last.fm.
Calling the last.fm API
In order to use the last.fm API, you need an API key. You can receive it instantly by creating an API account.
The endpoints are well documented. In our case we only need to call user.getRecentTracks. “This service does not require authentication” means that I could simply use the requests library without any extra logic.
The last thing to do was to check the terms of service and read about the rate limit. Under the paragraph 4.3.4 we can read that the “Reasonable Usage Cap” is quite generous with a 100 MB limit, however I couldn’t find official information about accepted polling frequency. According to Quora and reddit comments, the limit seems to be somewhere between 1 to 5 requests per second. That’s great, as we won’t get close to that number.
Getting recent scrobbles from the API
I have to repeatedly poll the API in order to receive the recent scrobbles. I didn’t want to exceed the rate limit, so I’ve decided to fetch scrobbles for an user every 3 seconds. This means that with 5 users we’ll get data for each one every 15 seconds.
I’ve decided to omit printing the “Now Playing” tracks and instead once print the most recent scrobble for each user. The decision comes with a cost of latency - the printer will never show the currently playing track. However, printing the Now Playing tracks is more tricky:
- the scrobble date would be never accurate and I could only resort to local time;
- I wouldn’t know if the song was skipped or actually played
- excessive song skipping would lead to excessive printing (or is it a feature?)
Final result
It works! The printer now prints last.fm scrobbles in real-time for specified usernames. Here’s a short timelapse (displayed at the top of the post).

Source code
The source code can be found on my Github. It’s licensed under Apache License 2.0.
You can follow my blog with any
 RSS reader!
Maciej Kaszkowiak
I try to write about interesting things, such as artificial intelligence, created projects, and travel - see all posts.

Query rewriting - refine user queries
What is query rewriting? Why is it useful whenever you build a chatbot? How to implement it? Read the article!

BM25: keyword search
Improve search in your application! Implement BM25: discover how it works, learn about potential issues, and get practical advice 🚀

Even your cat poem generator requires proper tests
Benchmark your AI application. Learn why and how to do that!